Xello's Work-related learning (WRL) module was designed to be managed at the school, trust, or regional level. All company and opportunity information entered into Xello will be available for all students in years 7-13 across your school, trust, or region — depending on your Xello account configuration.
Add a company
To add a company:
- Log into the WRL Admin workspace.
 Click to enlarge
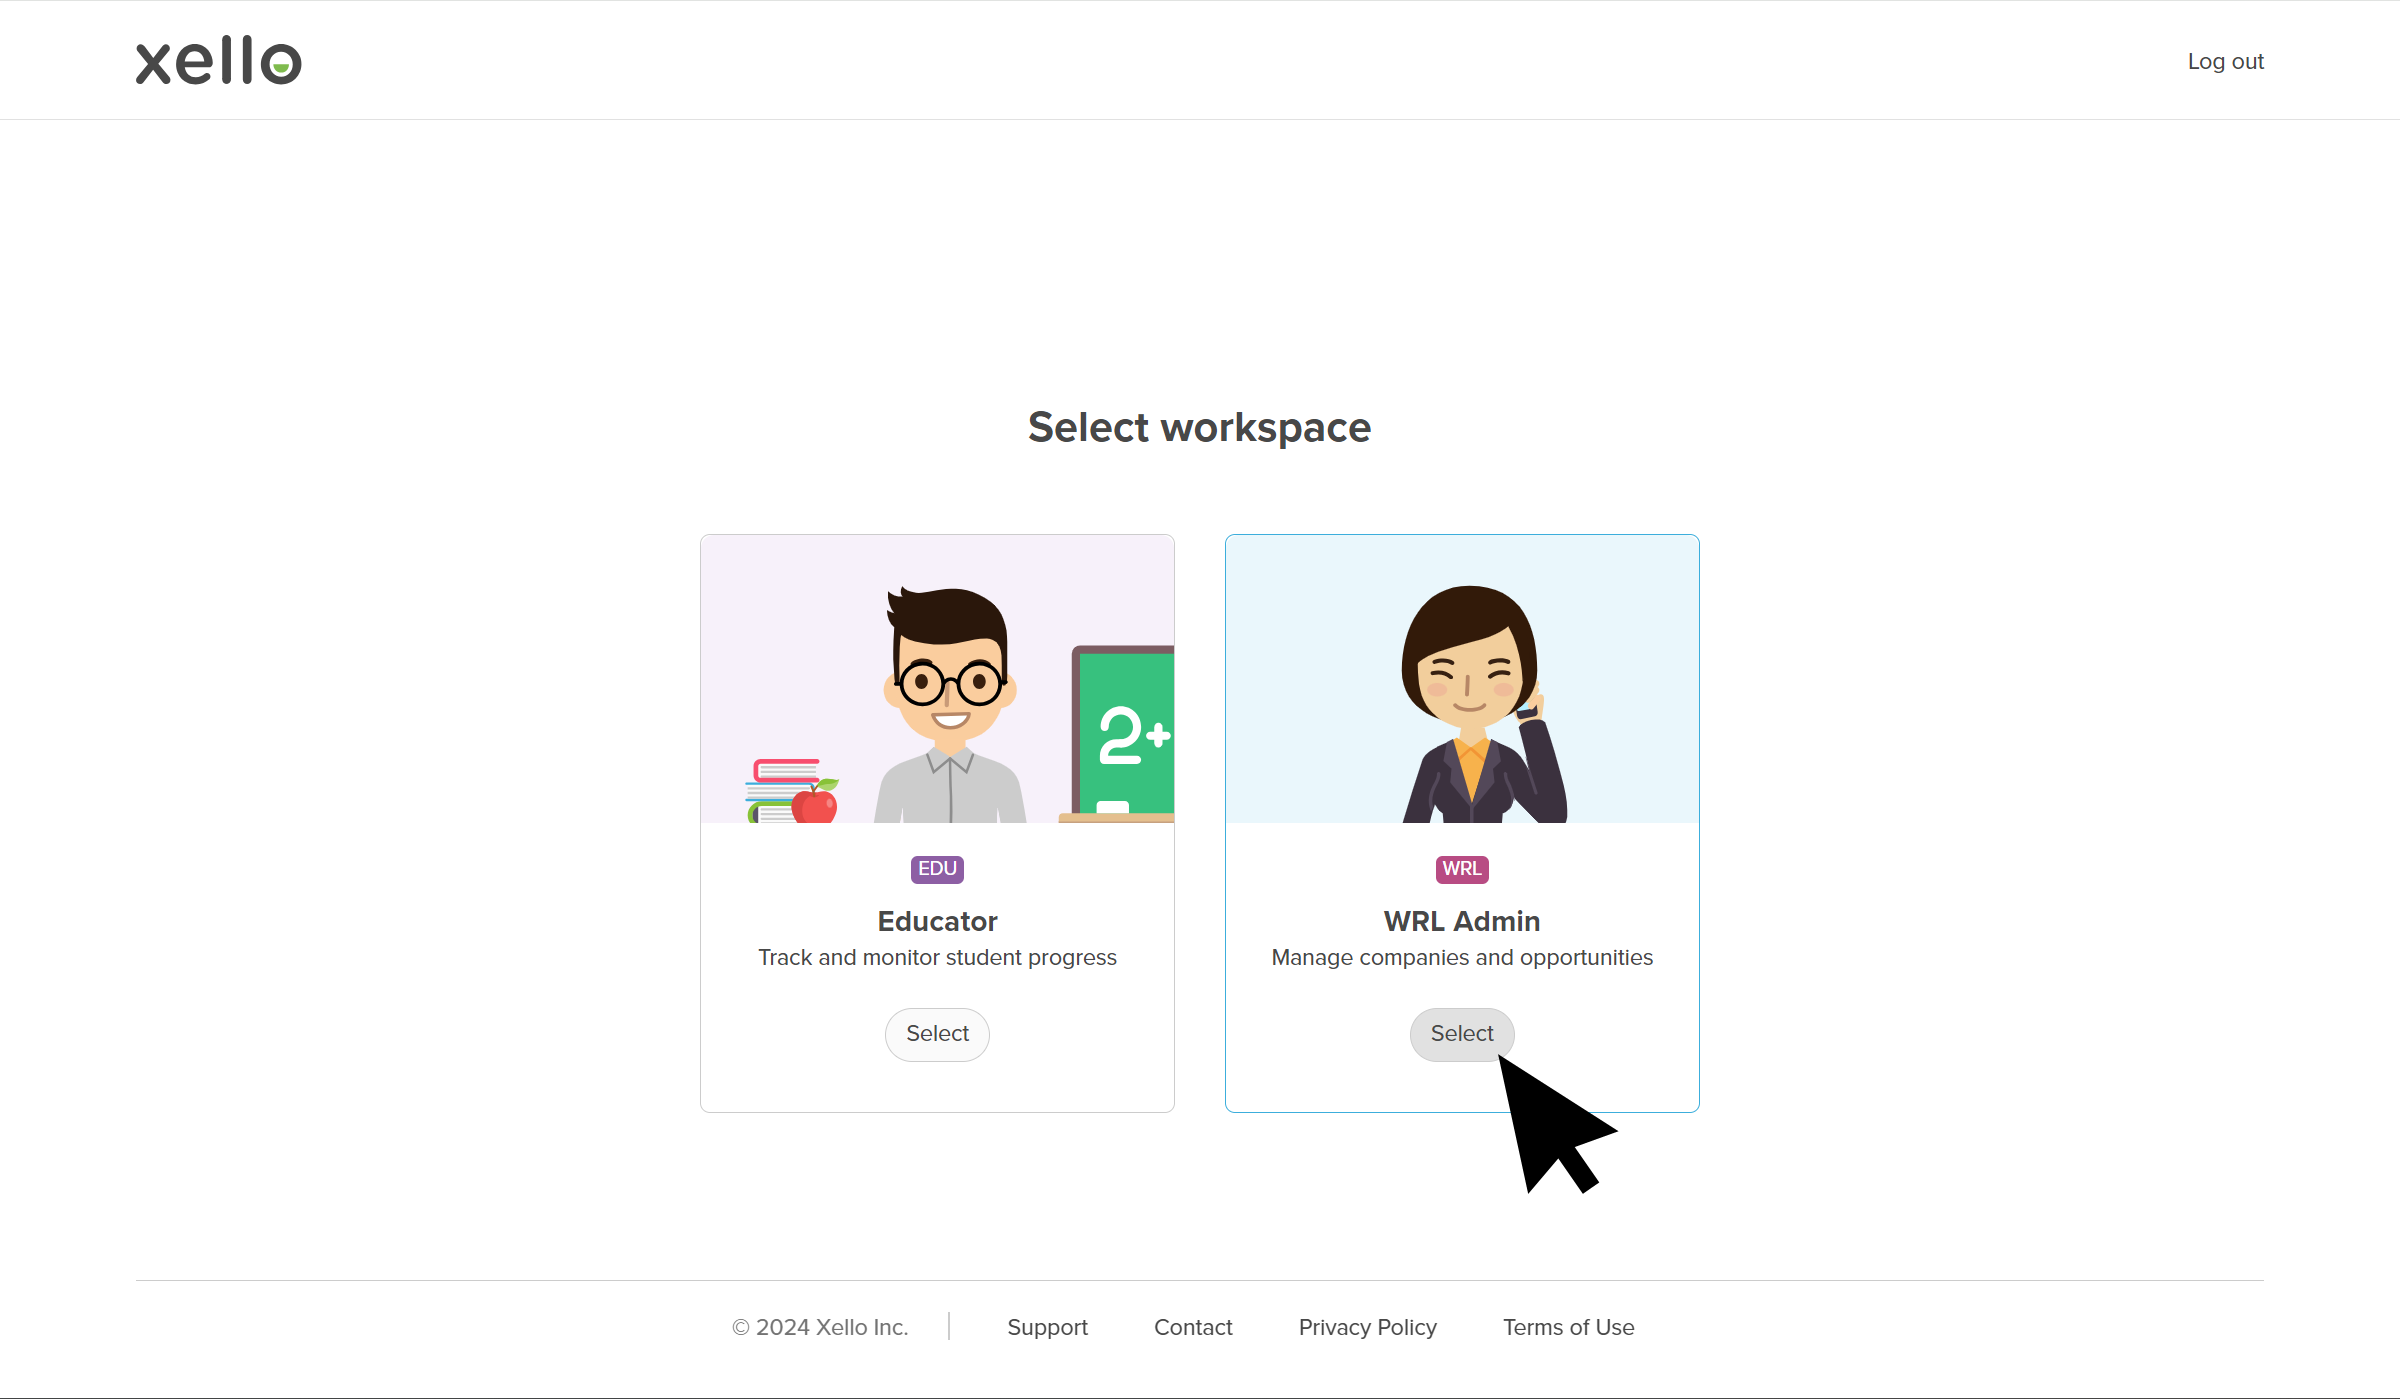
- The first page after signing in is the dashboard. Click Companies to begin managing companies.
 Click to enlarge
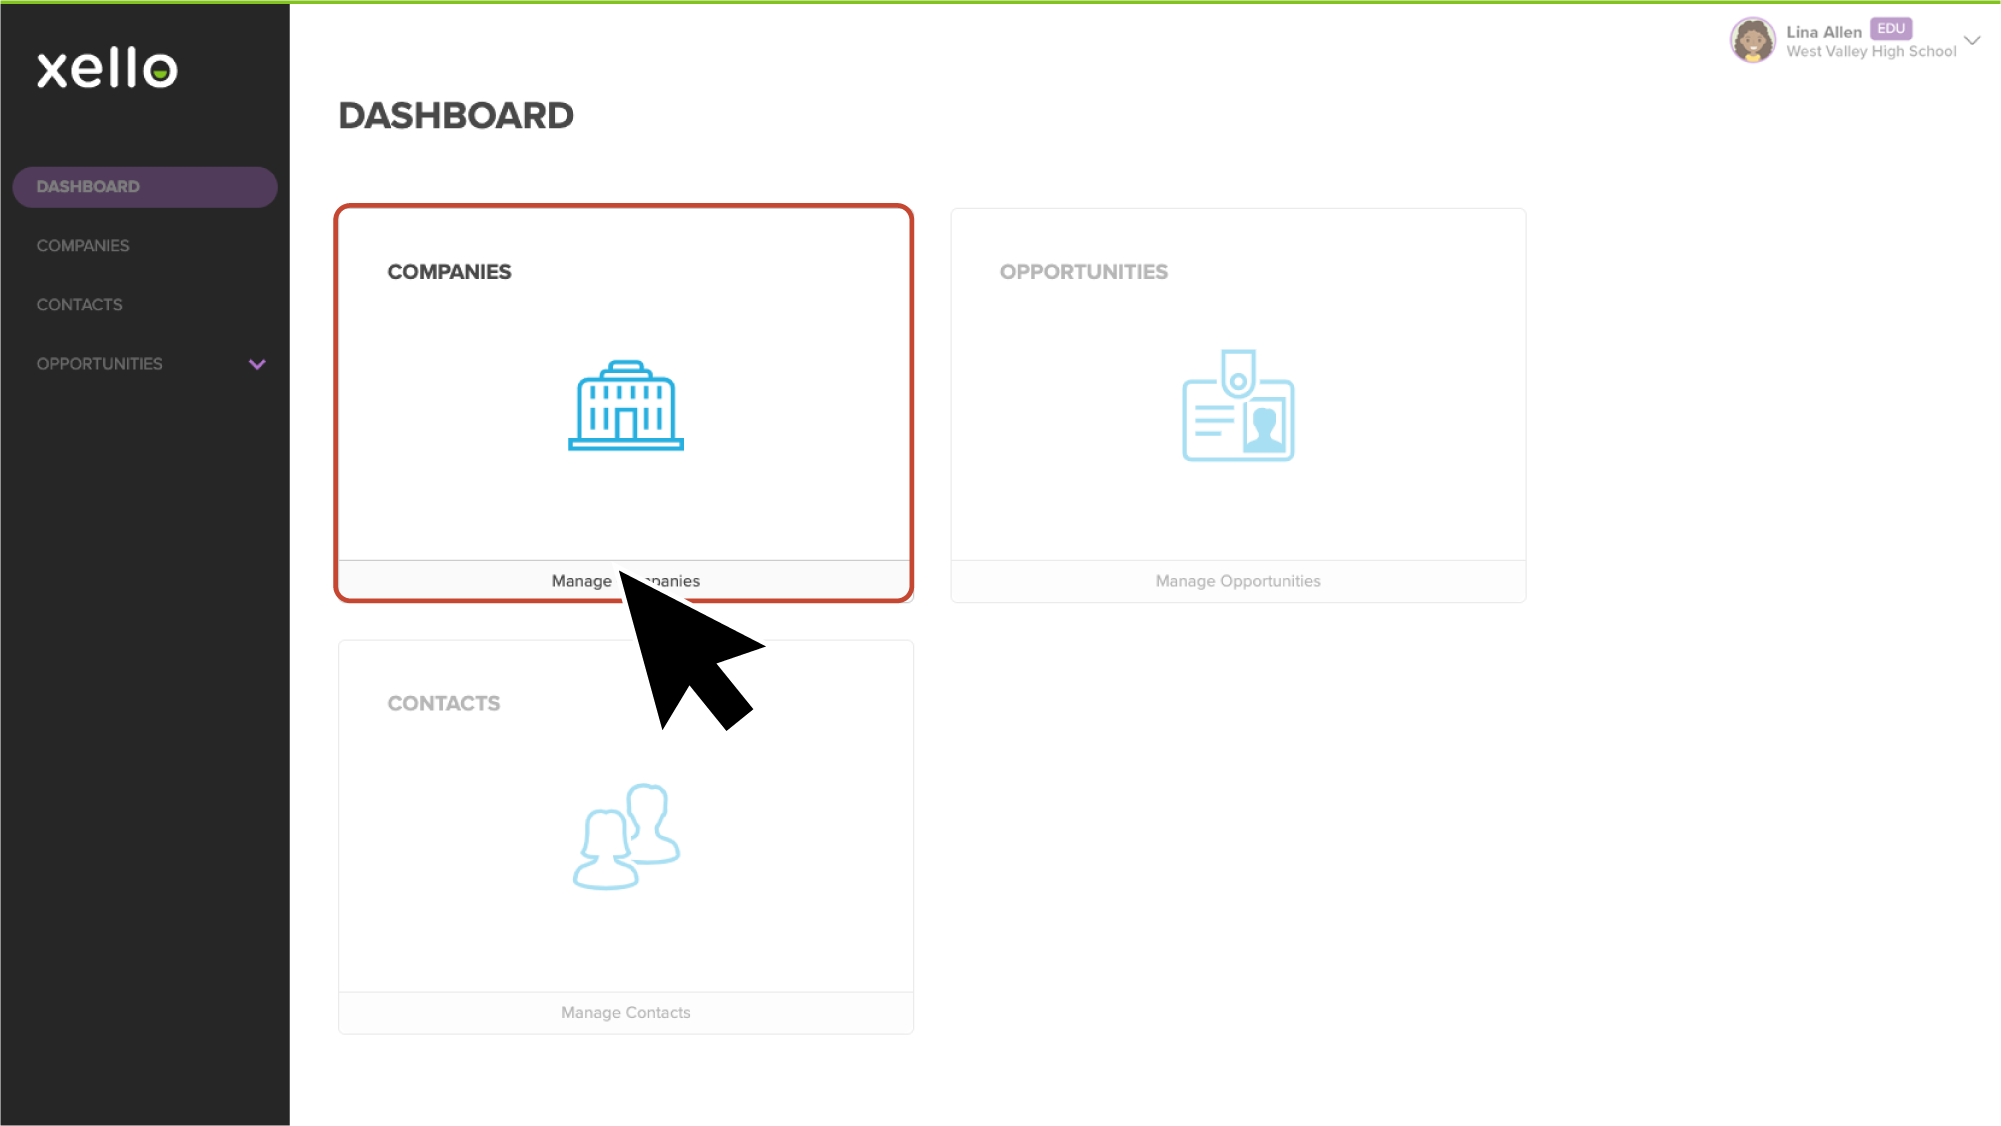
- Click Add Company.
 Click to enlarge
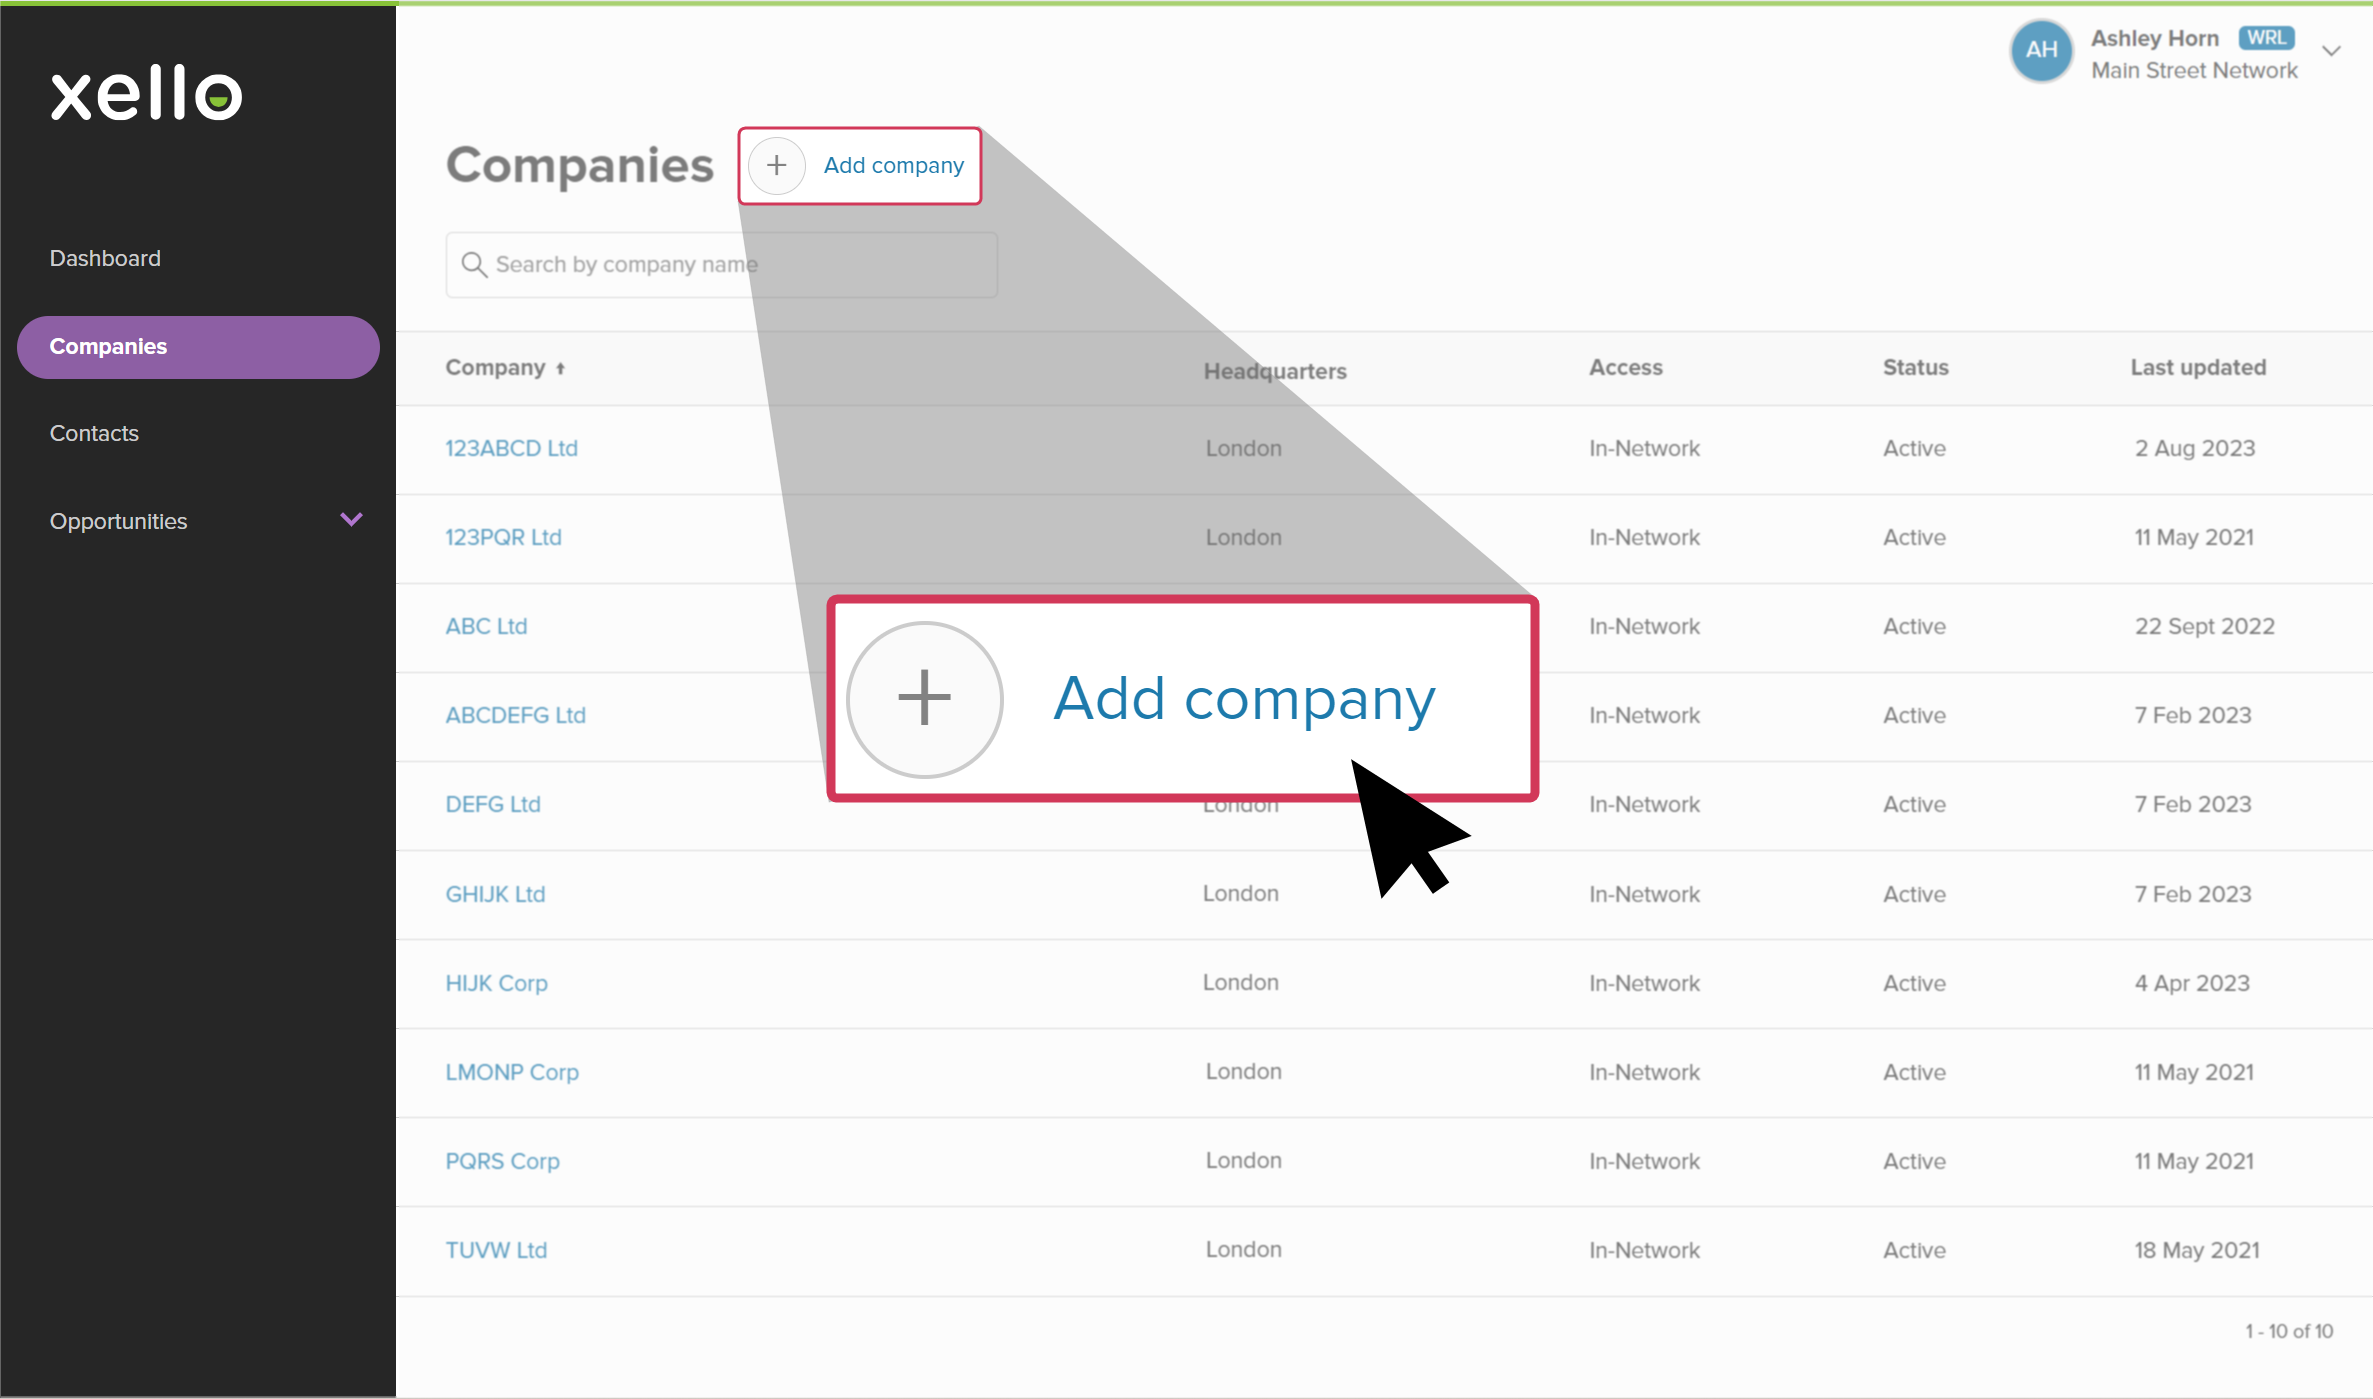
- Fill out the company's information.
- Careers pulls from the list of careers students see and explore in Xello. You can input multiple careers per company.
- Once you're done, click Preview to see what the company profile will look like for students.
- If you're happy with how it looks, click Save.
Add a contact
To add a contact:
- From your
 Click to enlarge
- Click Add Contact.
 Click to enlarge
- Fill out the contact’s information.
- Background Check is for tracking purposes only. It will not send an email to the contact
- Once you’ve inputted all information, click Save.
Add an opportunity
Whether it’s an internship,
To add an opportunity:
- From your
 Click to enlarge
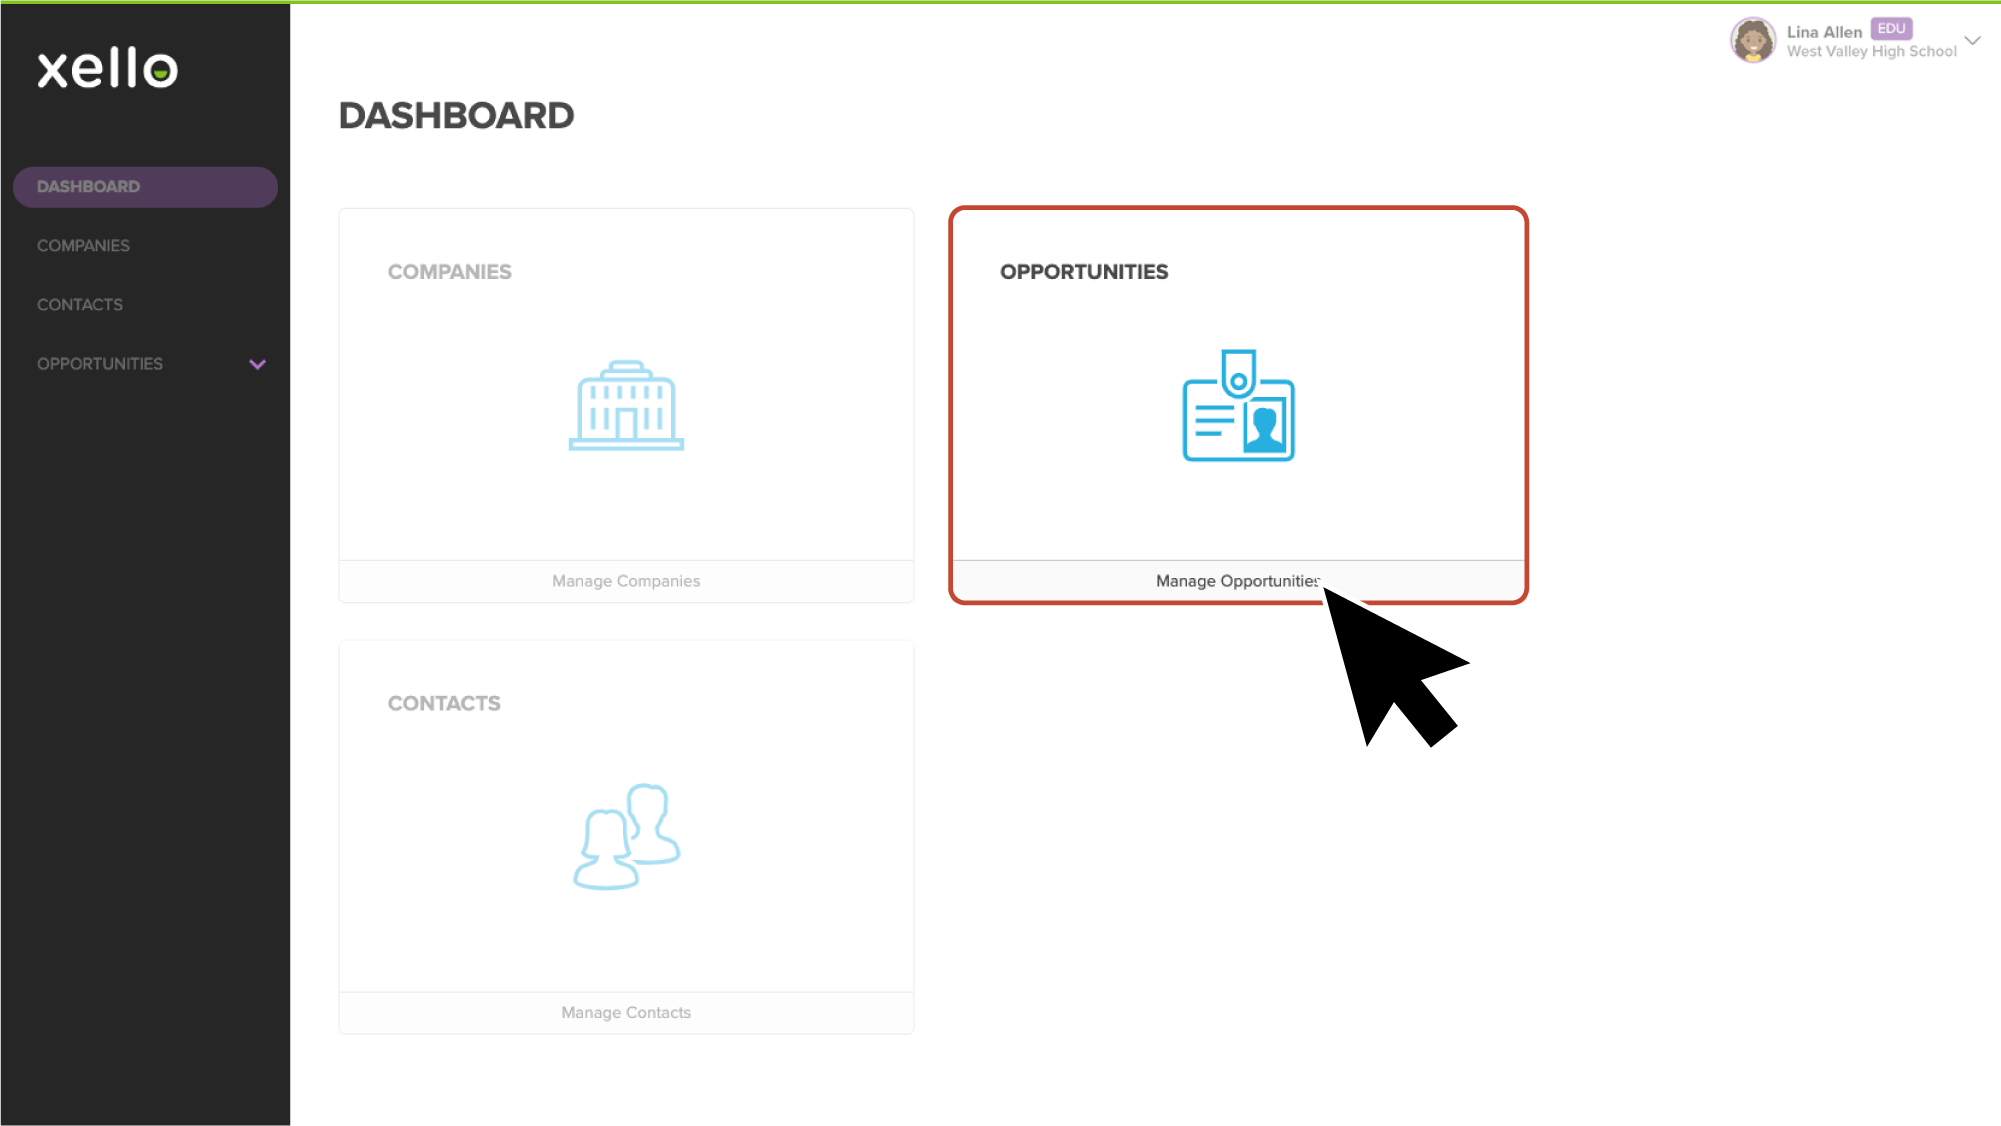
- Click Add Opportunity.
 Click to enlarge
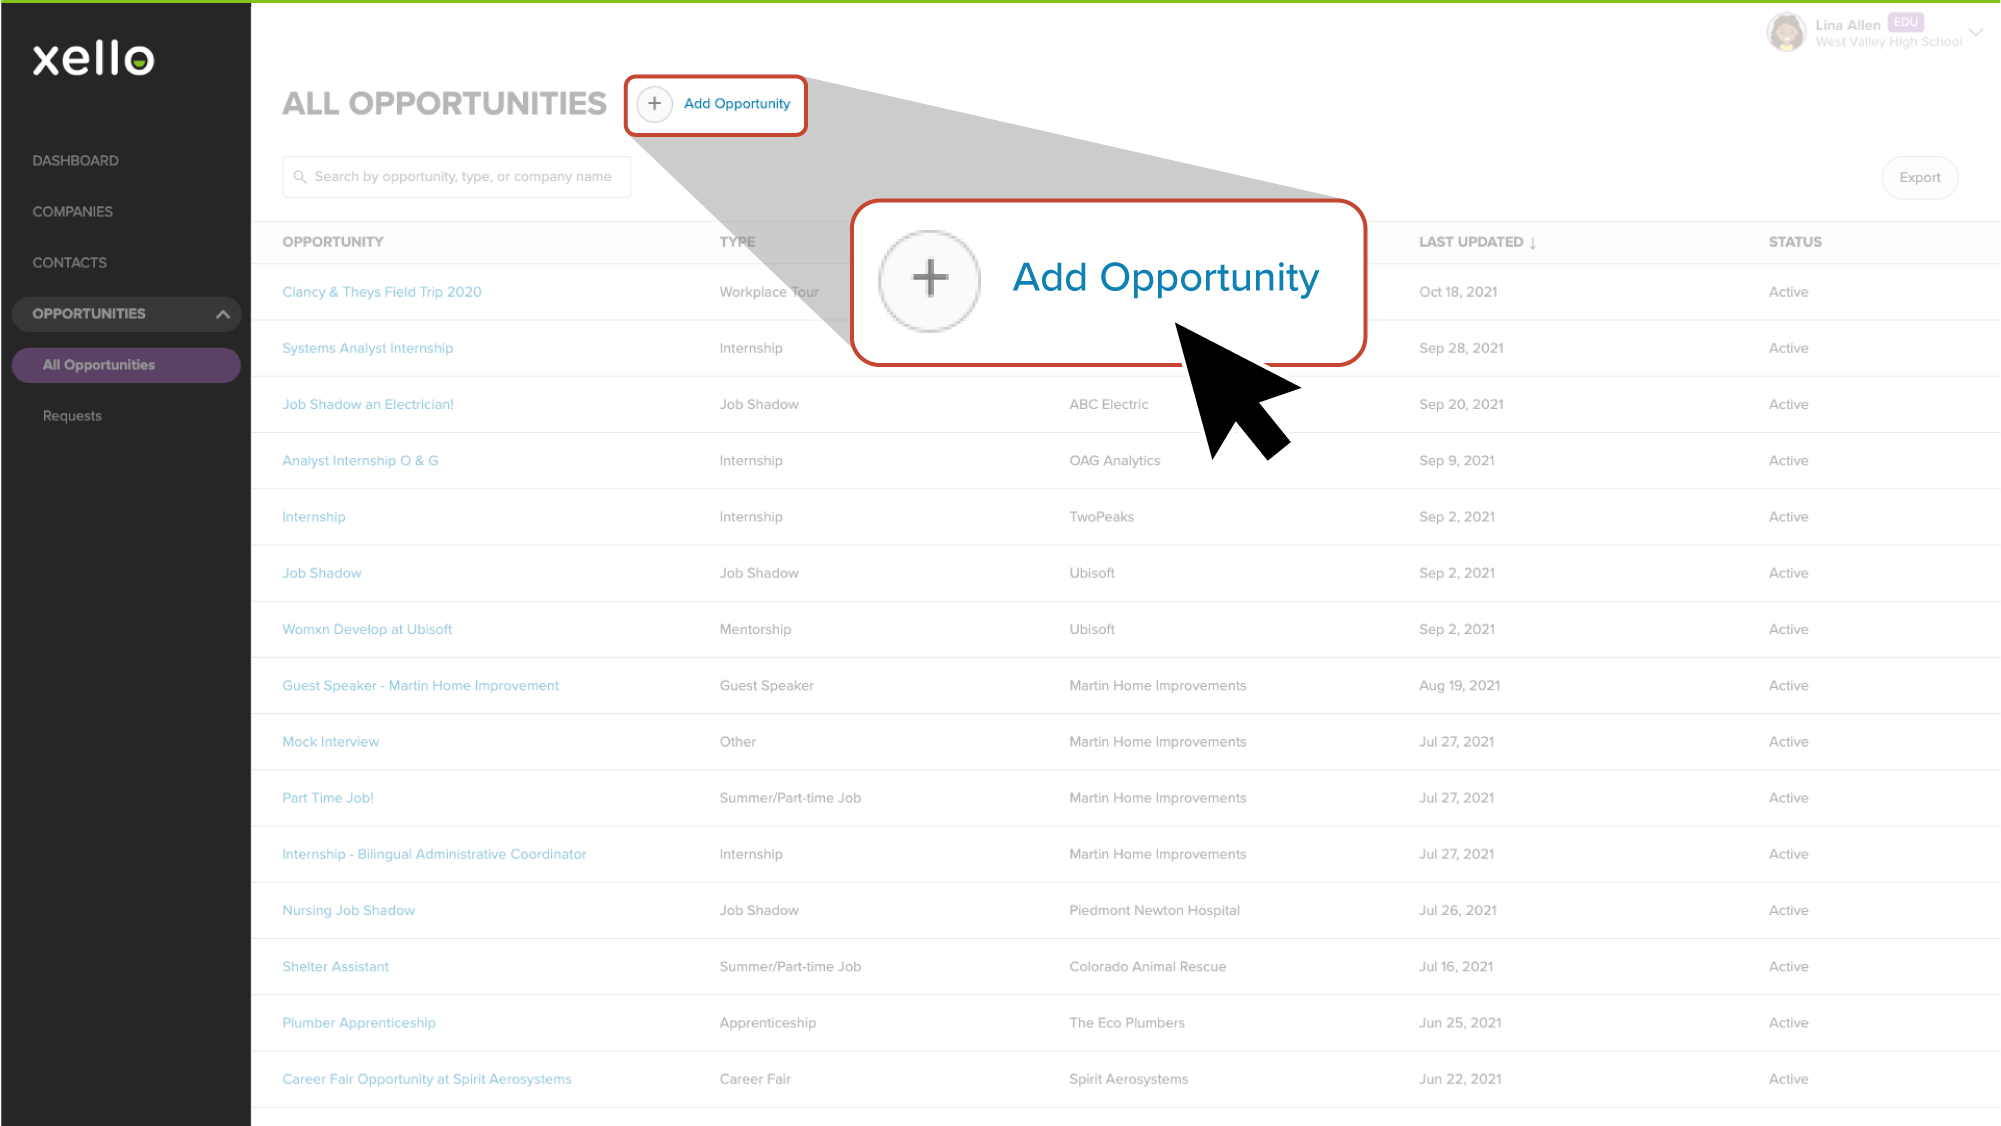
- Fill out the required information.
 Tip: Add a tag to the Opportunity so you can easily identify, sort, and filter the data by tags in an Opportunity report.
 - Make sure to add relevant career clusters to the Opportunity. This will ensure students are matched to opportunities based on their interests. Students will also be able to filter opportunities by career clusters to find those that are most relevant to them.
- Once you’re done, click Preview to see how the Opportunity will look for students.
- Once you're happy with how it looks, click Save.
Additional resources
-
 PDF
PDFIntroduction to WRL in Xello
PDF
PDFIntroduction to WRL in Xello -
PDF
PDFTrack Gatsby Benchmarks 5 and 6 with Bulk Status Updates in WRL
-
 Xello Resource
Get Started for WRL Administrators
Xello Resource
Xello ResourceGet Started for WRL Administrators